How to Use AI to Design Tattoos That Perfectly Fit Your Anatomy

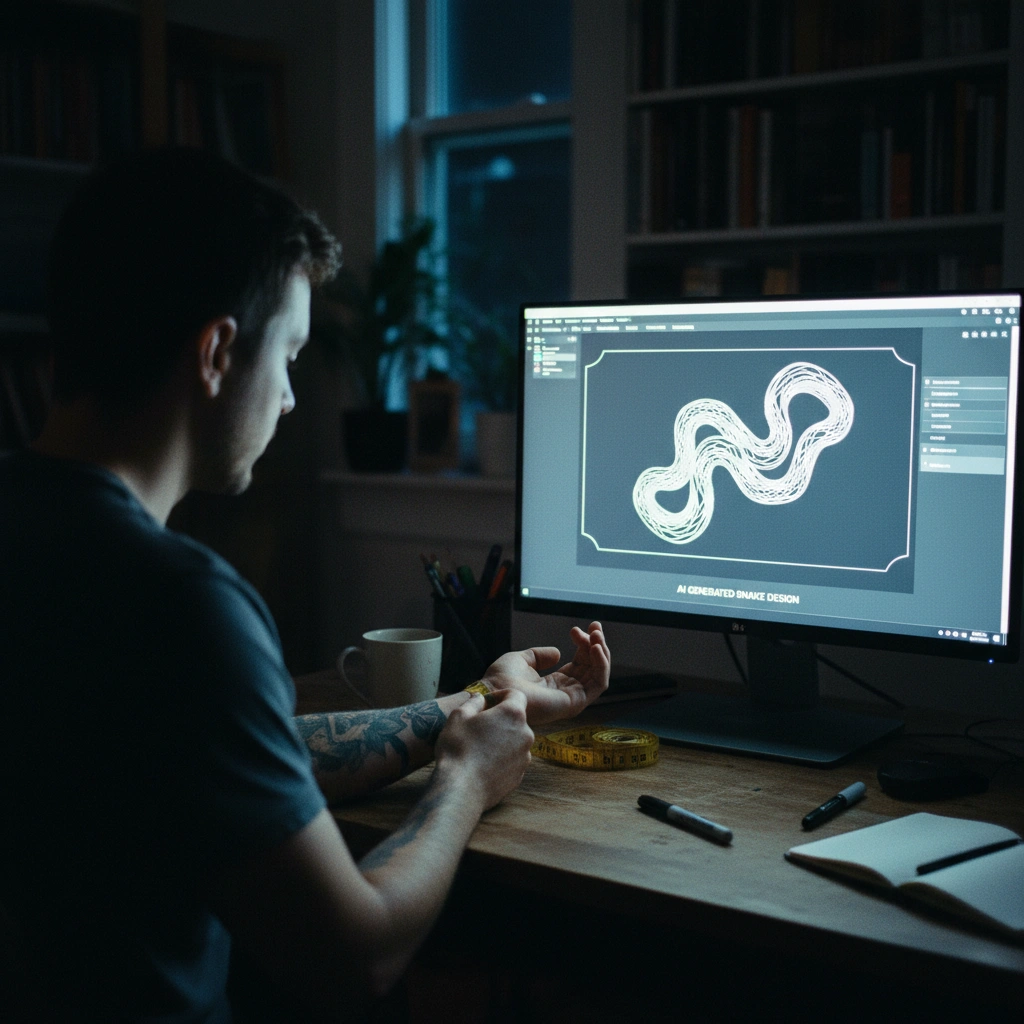
Designing a tattoo isn't just about creating a pretty picture; it's about ensuring the art flows with the curves of your body. Many people struggle to visualize how a 2D drawing will look when wrapped around a forearm, a thigh, or a shoulder blade. This uncertainty often leads to hesitation or "placement regret."

Young woman comparing digital tattoo design to her leg

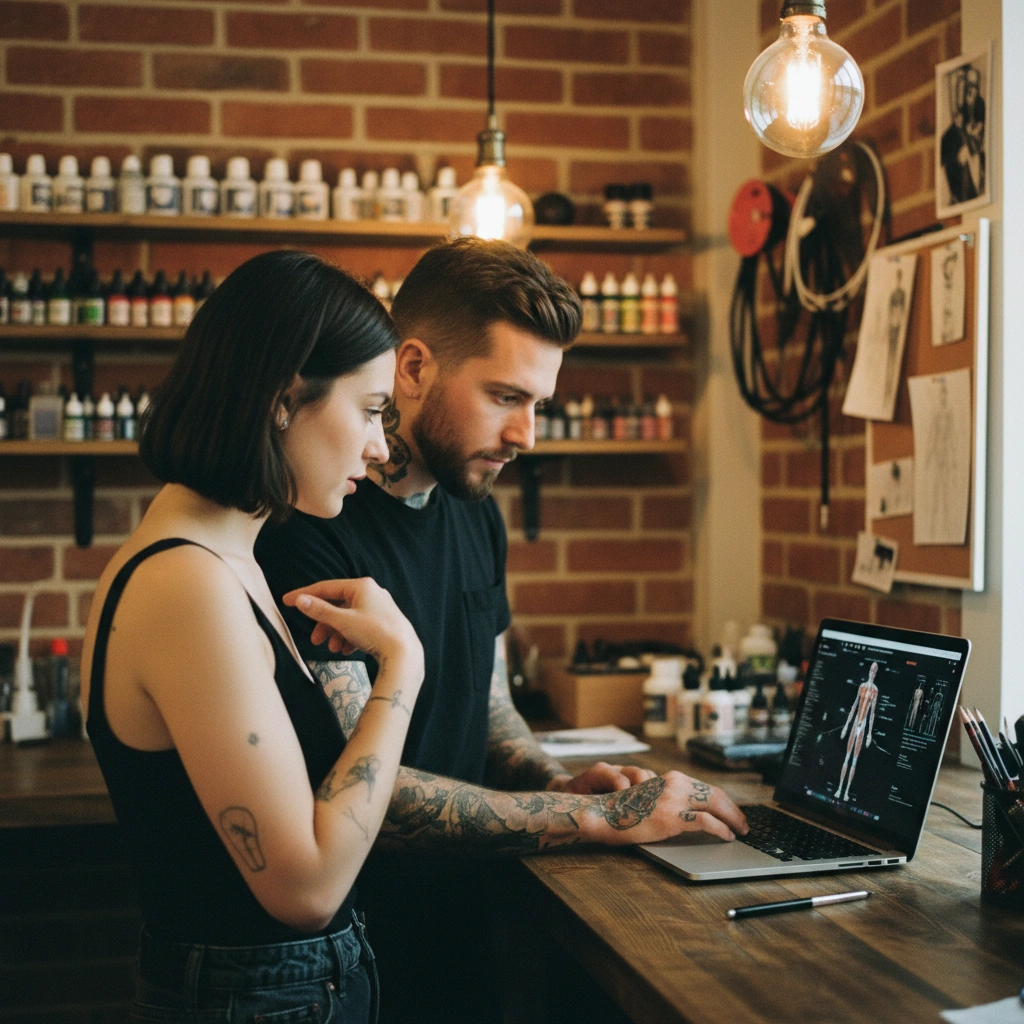
Tatspark solves this by acting as your dedicated AI Tattoo Design Agent. We don't just generate images; we provide a 3D Virtual Try-On engine that maps designs directly onto your photos. You can visualize the fit, adjust the scale, and extract a perfect Stencil for your artist, ensuring the final ink looks exactly as you imagined.

Start Your Design Journey

Stop guessing how it will look. visualize it instantly.

How to Use This Guide

This page helps you move from "uncertainty" to "confidence" using AI.

  1. Identify your worry: Choose the Scenario Card below that matches your current question (e.g., "Will it wrap right?" or "Is it too detailed?").
  2. Use the Tool: Follow the specific Tatspark function (like Remix or Try-On) suggested in the card.
  3. Get the Prompt: Copy the provided instruction to get the best result from the AI agent.
Scenario 1

The "Anatomy Flow" Anxiety

"Will this design actually look good wrapped around my arm/leg?"

Tatspark Solution: Use 3D Virtual Try-On to map the design to your specific body geometry. Unlike simple overlays, our agent understands curvature and perspective, allowing you to see if a design enhances your muscle flow or fights against it.

Actionable Input (What to do):

Upload a photo of your limb to Tatspark. Select your design and drag it over the area; the AI will automatically wrap and shade it to match your skin texture.

POV shot of designing a snake tattoo flow on screen
Advanced Prompt Strategy (For LLM Context)
Role: Professional Tattoo Consultant
Task: Validation of Anatomical Flow

Context: The user has a long, winding design (e.g., a snake or vine) and wants to place it on the forearm.

Instruction:
1. Advise the user that flat images often distort when wrapped around cylindrical body parts (arms/legs).
2. instruct the user to use Tatspark's "3D Virtual Try-On" feature.
3. Tell them to upload their arm photo and rotate the 3D model to check the "meeting point" of the design to ensure it aligns perfectly.

Direct Command for Tatspark:
"Generate a wrapping [Snake/Vine] tattoo design, high contrast, suitable for a forearm placement. Then, switch to Try-On mode to visualize the wrap."
              
Scenario 2

The "Placement" Indecision

"I love this design, but I don't know where to put it."

Tatspark Solution: Use Mockup capabilities to test the same design on multiple body parts instantly. You can quickly compare how a specific motif looks on your collarbone versus your ankle without drawing on yourself.

Actionable Input (What to do):

Take photos of 2-3 potential spots on your body. Upload the design to Tatspark and cycle through the background photos to find the aesthetic "sweet spot."

Artist and client discussing tattoo placement on laptop
Advanced Prompt Strategy (For LLM Context)
Role: Tattoo Aesthetician
Task: Placement Consultation

Context: The user has a specific design concept but is undecided on the body location.

Instruction:
1. Explain that skin elasticity and body hair can affect how a tattoo ages in different areas.
2. Recommend the user take clear photos of the candidate areas (e.g., Sternum vs. Upper Back).
3. Direct them to use Tatspark's "Remix" or "Create" tool to generate the base image, and then use the "Virtual Try-On" to swipe between different body placements for a side-by-side comparison.

Direct Command for Tatspark:
"Create a [Subject] tattoo in [Style]. Save the design. Upload user body photos A and B. Apply the saved design to both photos using Try-On to compare composition."
              
Scenario 3

The "Tattooability" Reality Check

"Is this design feasible, or will it turn into a blob?"

Tatspark Solution: Use Stencil and Convert to check line clarity and spacing. A design that "fits" your body also needs to fit the medium of skin; if the lines are too close, they will blur over time.

Actionable Input (What to do):

Upload your complex image or idea. Select the Stencil mode to strip away shading and view the "skeleton" of the design. If it looks cluttered, use Remix to simplify the style (e.g., "Convert to Bold Line").

Man showing fresh geometric tattoo on arm
Advanced Prompt Strategy (For LLM Context)
Role: Technical Tattoo Artist
Task: Technical Feasibility Check (Tattooability)

Context: The user wants a highly detailed design on a small body part (e.g., wrist or finger).

Instruction:
1. Warn the user about "ink drift" and aging over time.
2. Strongly advise converting the image to a stencil to see the proximity of the lines.
3. Recommend using Tatspark's "Stencil" feature to extract the linework.
4. If the lines in the stencil merge, use the "Remix" feature to request a "Simplified" or "Minimalist" version.

Direct Command for Tatspark:
"Upload [Image]. Apply 'Extract Stencil' filter. If lines are too dense, apply Remix with prompt: 'Simplify lines, increase negative space, bold outlines for longevity'."
              

Summary & Next Steps

Your body is a 3D canvas, and your design tools should respect that. Whether you are worried about the flow of a snake tattoo or the longevity of a fine-line piece, Tatspark provides the professional toolkit to validate your ideas. Use Create for inspiration, Try-On for anatomical fit, and Stencil for technical perfection.