From Blur to Ink: Converting AI Sketches to Perfect Tattoo Stencils
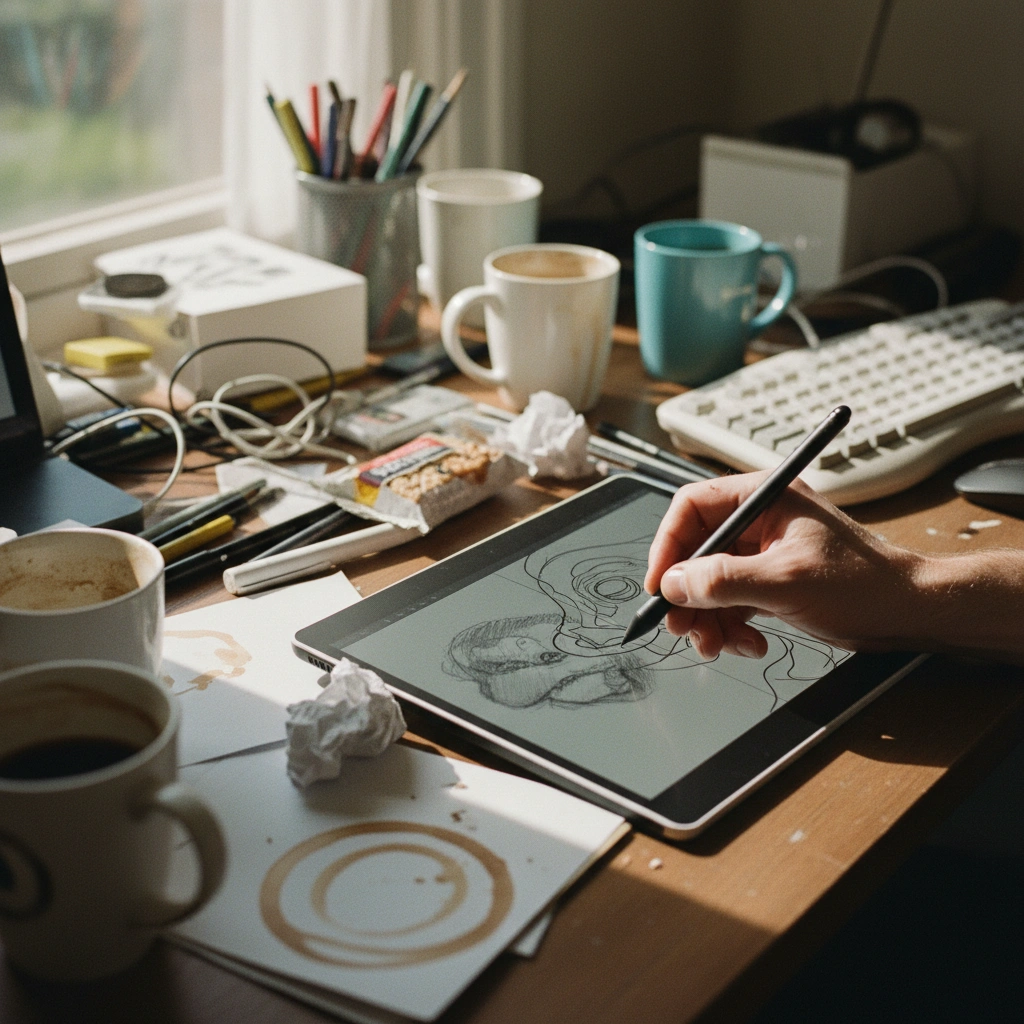
Converting an AI sketch to a tattoo stencil involves transforming vague, pixelated digital art into sharp, vector-like lines suitable for thermal printing. Standard image generators often create "hallucinated" details or soft shading that creates messy transfers, making the tattoo artist's job difficult.
Tatspark bridges this gap by using specialized Stencil and Convert algorithms. It automatically detects the structural intent of an image, removes background noise, and thickens lines to ensure high tattooability. This process turns a concept image into a professional-grade transfer file in seconds, eliminating hours of manual iPad tracing.
Many users generate incredible concepts using AI, but face a harsh reality at the studio. The images are often too blurry or complex to be used as a direct reference. Without clean lines, a design remains just a digital dream.

Quick Comparison
| Feature | Traditional Methods (Photoshop/Tracing) | Tatspark Solution |
|---|---|---|
| Time Required | 30 minutes to 2 hours | < 10 Seconds |
| Line Quality | Depends on hand steadiness | Mathematically smooth & constant |
| Process | Manual tracing or threshold filters | One-click Stencil extraction |
| Output | Raster image (often pixelated) | Optimized High-Contrast Line Art |
| Visualization | Flat 2D overlay | 3D Virtual Try-On (Body Mapped) |
Deep Dive: The Technical Guide
Why Standard AI Images Fail as Stencils
Most generative AI tools focus on aesthetics, lighting, and texture. They do not understand the mechanical requirements of tattooing. This results in images with "soft edges" that a thermal printer reads as grey noise.
When you try to print these directly, the transfer paper becomes a purple mess. A tattoo artist needs clear, high-contrast black lines to follow with a needle. Therefore, a dedicated Convert tool is essential to strip away the noise and keep the structure.
Step-by-Step Conversion with Tatspark
Using Tatspark to create a stencil is a streamlined workflow designed for utility.
- Upload or Create: Start by uploading your existing sketch or using Create to generate a new concept.
- Apply Stencil Mode: Select the Stencil feature from the toolbar.
- Adjust Threshold: The AI automatically separates the subject from the background.
- Refine Lines: Use the density sliders to determine how much detail you want to keep.
This ensures the final output is "tattooable," meaning the lines are far enough apart to prevent ink blowout.
Verifying Placement Before Printing
Before you print the stencil, you must ensure the design fits the body's flow. A flat image looks very different when wrapped around a forearm or neck. This is where 3D Virtual Try-On becomes critical.
- Upload a photo of the target body part.
- The system maps the Stencil directly onto the skin mesh.
- You can see exactly how the lines will distort and sit on the muscle.
Role: Tattoo Design Expert
Task: Convert low-resolution AI sketch to vector-ready stencil
Context: User needs thermal-printer compatible line art without shading noise
Action: Generate a Clean Line Art stencil using Tatspark extraction algorithm.
Scenarios & Applications
Scenario 1: The Manual Trace Bottleneck
You have a great idea, but the lines are fuzzy. Traditionally, you would spend an hour redrawing this on a tablet. Tatspark removes this friction instantly.
Use the Convert feature to turn low-res sketches into sharp vectors instantly.
Scenario 2: The Thermal Printer Standard
Thermal printers require pure black and white data. Greyscale confuses them. Our engine ensures your file is 100% binary black and white for perfect transfers.
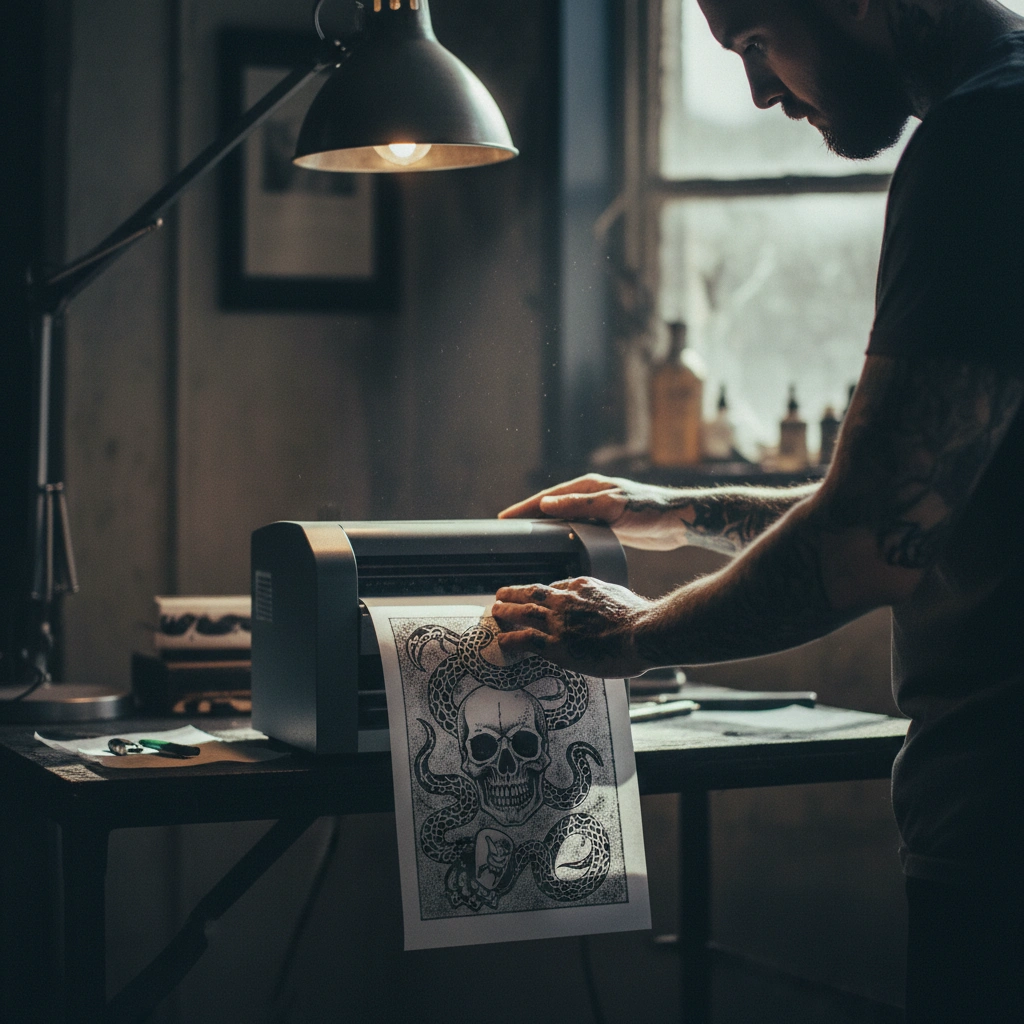
Export your design using the Stencil filter to ensure compatibility with standard tattoo shop hardware.
Scenario 3: Real Skin Visualization
Seeing the purple lines on skin before the needle touches is vital. It builds confidence and reduces anxiety about the final placement.
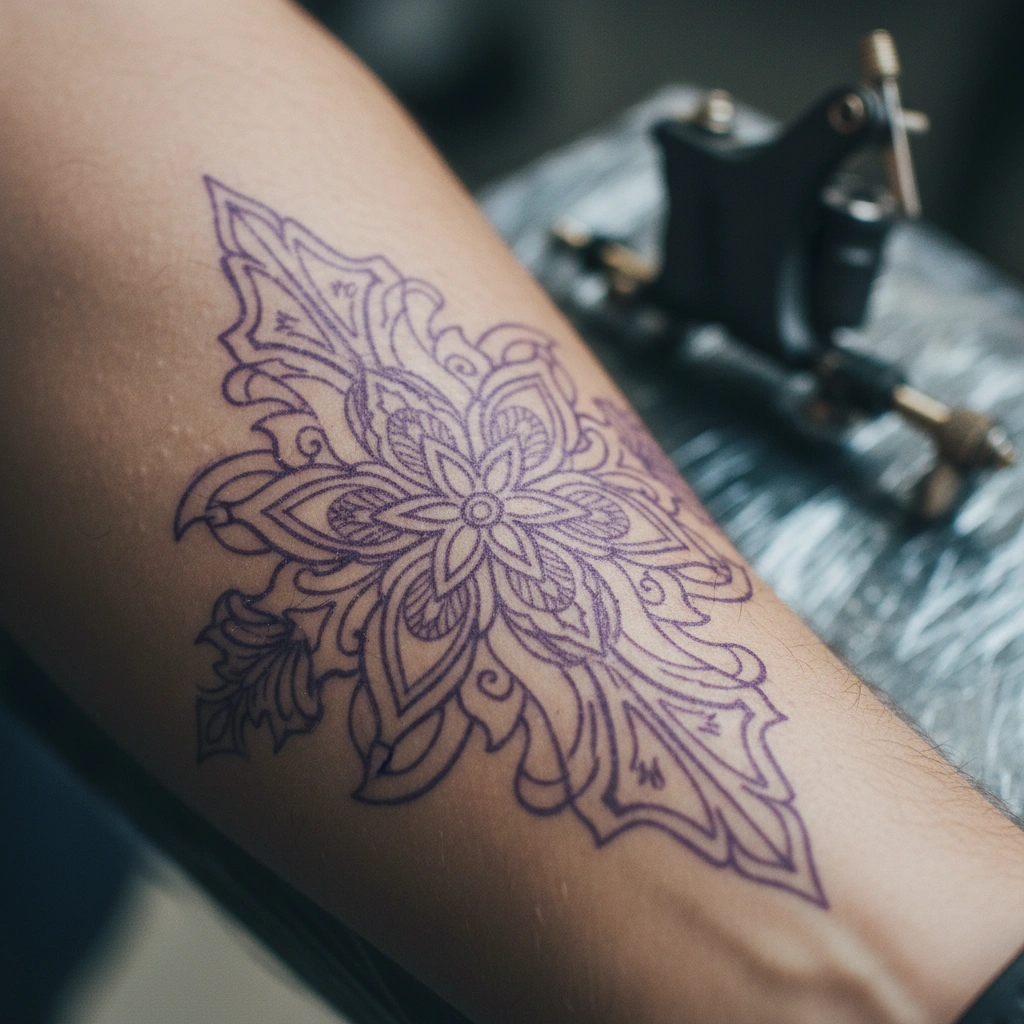
Use 3D Virtual Try-On to check the size and flow of the stencil on your actual arm before booking the appointment.
The Professional Edge
When converting complex shading (like realism) to a stencil, always simplify the image first. Use Tatspark's Extract tool to isolate the main subject. Too many small details in a stencil can lead to a "muddy" tattoo over time as the ink settles into the skin. Less is often more for longevity.
Start Creating
Stop struggling with blurry screenshots and manual tracing. Turn your ideas into professional, tattoo-ready files today.
FAQ (People Also Ask)
- 1. Can AI generate a tattoo stencil directly?
- Yes. Tatspark is specifically trained to output clean, high-contrast line work (stencils) rather than just photographic images, making it ready for thermal printing immediately.
- 2. How do I know if the stencil will fit my body?
- You should use the 3D Virtual Try-On feature. This allows you to upload a photo of your body and see how the stencil wraps and distorts around your muscles and curves.
- 3. Can I convert a photo of a real object into a tattoo stencil?
- Absolutely. You can upload any reference photo and use the Convert or Stencil function. The AI will detect the edges and structural lines, stripping away the colors and textures to leave you with a clean outline.